[vc_row][vc_column][mk_gallery title=”Just Finished The 3rd House” images=”555,556″ column=”2″ image_size=”full”][/vc_column][/vc_row]
Walk2Campus @ Coastal Carolina University
Starting the exterior of 9 student houses for Walk2Campus at Coastal Carolina University! Going to be a “Rainbow Row, Charleston” look…stay tuned for before and after pics!
How To Paint Walls With A Roller
[vc_row][vc_column][vc_column_text]
Yet, even the finest technique will not operate with poor-quality gear. Do not squander your cash on those all in one throwaway roller set ups when you can purchase a professional set up that will last a life for under $20. Focus on a roller framework that is good. To expand your reach and give better control to you, twist a 48-in. You could use a broom that is threaded handle. While paint trays are used by most homeowners, you will seldom see a professional using one. That is because a 5-gallon pail with an unique pail display hung over the border functions a lot better.
Here are several advantages of a bucket and screen over a roller pan:
- It is not difficult to transfer the bucket without spilling
- The bucket holds more paint. You will not have to often refill a pan.
- It is simpler and faster to load the roller cover from a bucket with paint.
Use a classic drywall compound bucket or purchase a new bucket that is clean. Add bucket screen and you’re prepared to go.
The most significant part of your paint rolling set up is the roller cover, also called a sleeve. Once you experience the difference a great roller cover makes but you will not mind the few additional minutes of clean-up time. Affordable roller covers do not hold enough paint to do a great job.
Rather, purchase a 1/2-in. nap wool give it a try and mix roller cover. With appropriate attention, this may function as last roller cover you purchase.

Keeping a wet border is critical to all top quality paint jobs, whether you’re varnishing furniture, enameling a door or rolling paint. The notion would be to plan the sequence of work and work quickly enough so that you are constantly lapping just paint that is applied onto paint that is still not dry. If next section has dried you stop for a rest at the center of a wall, by way of example, and after that begin painting, you will probably see a lap mark where both regions join. The rolling technique we reveal prevents this difficulty by allowing one to rapidly cover a big region with paint after which return to smooth it out—which brings us to the second painting technique that is significant.

This “cutting in procedure that is ” makes brush marks that will not fit the roller feel on the remainder of the wall. For the occupation that is finest appearing, you will need to cover with the roller as many brush marks as potential. Do that by carefully rolling up close to the ceiling, moldings and interior corners. With training, you’ll can prevent crawling up on a ladder to paint like we reveal previously, and have the ability to get in a inch of the ceiling rolling vertically.
Pick the balls before they dry out. It is unavoidable that you will get an occasional ball in your paint. Drying touches of paint in the border of the pail or pail screen also can cause this issue. Cover with a moist cloth when you are not using it. Take it outside if partly dry paint is sloughing off the display and clean it. As you go keep a wet rag and pick balls off the wall. Form used paint through a net paint strainer to remove balls. Five gallon size strainers are offered at paint shops for about $1.
Before you wash it scrape excess paint in the roller. Use your putty knife, or better yet, a roller that is unique – scraping on tool. Rinse until the water runs clear the roller cover. A paint and roller brush tool that is whirling, offered at paint and hardware shops for about $8, simplifies the cleaning job. Simply ease the roller cover wet and repeatedly onto the spinner and spin out the roller until it is clean.
Essential Tools For This Job
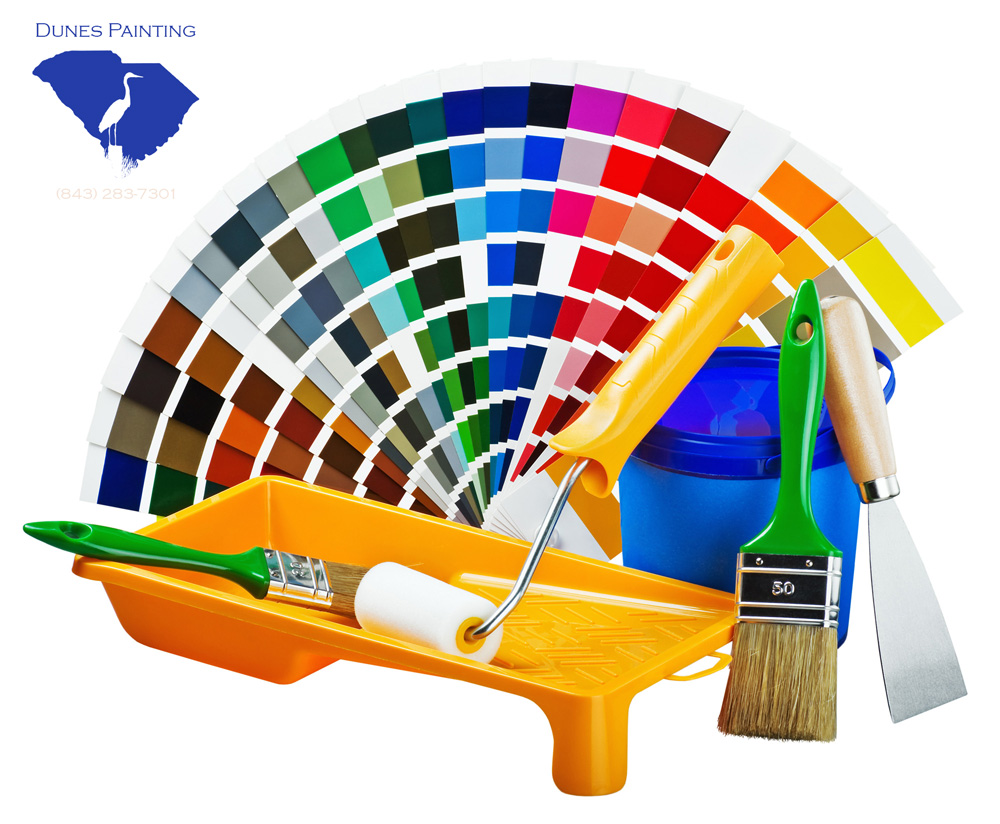
Have the required tools for this particular DIY job before you begin—you’ll conserve frustration and time.
- Bucket
- Paint roller
- Paint scraper
- Painters tape
- Putty knife
- Roller screen
- Roller sleeve
- Paintbrush
Essential Materials For The Job
Prevent last minute shopping excursions by having all your stuff prepared ahead of time. Here is a list.
- Paint
- Primer
[/vc_column_text][/vc_column][/vc_row]

![20160621_120444[1]](https://dunespainting.com/wp-content/uploads/2016/06/20160621_1204441-300x225.jpg)
