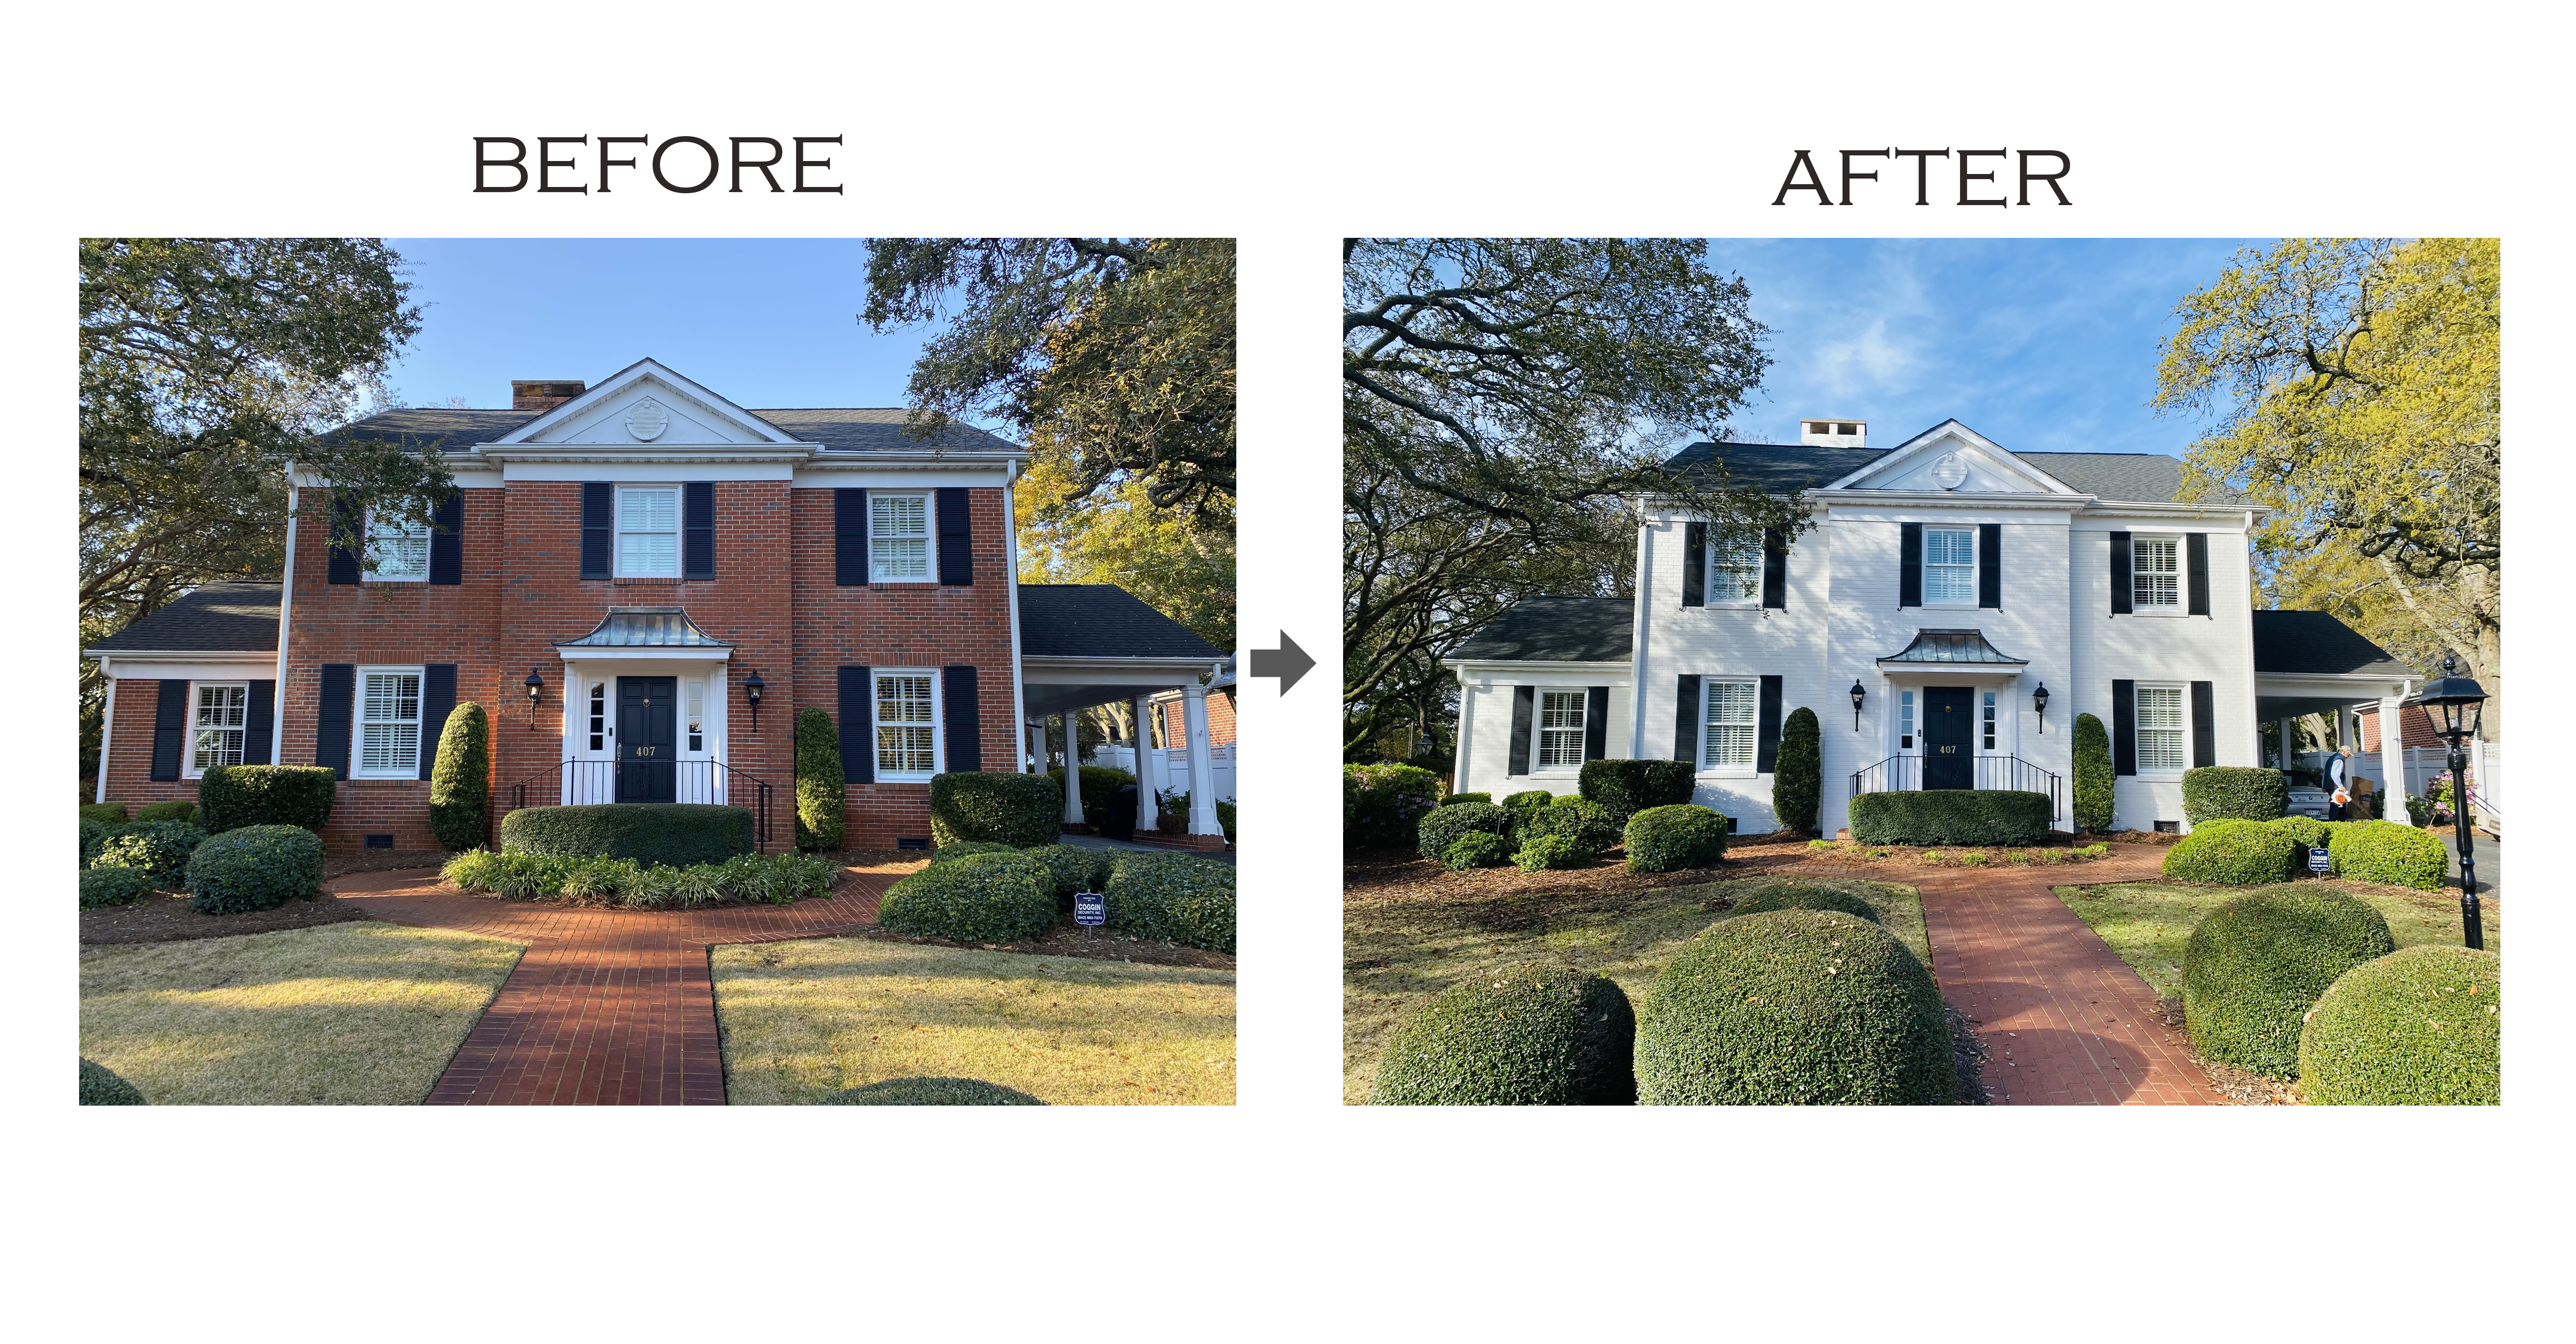
Your Step-by-Step Guide to Painting a Brick House: Transforming Your Home’s Exterior
Transforming the exterior of your home with a fresh coat of paint can be a game-changer, especially when it comes to painting a brick house. This guide will walk you through each step of the process, ensuring that your brick house renovation not only enhances curb appeal but also stands the test of time. Choosing the best paint for brick is crucial, and we’ll help you make informed decisions that balance aesthetics with durability. From prepping the surface to applying the final coat, our detailed instructions will give you the confidence to tackle your exterior brick painting project with ease. Whether you’re a homeowner eager for change or a property manager aiming to boost property value, let us be your trusted advisor in this rewarding endeavor.
Preparing Your Brick House for Painting
Before you start your brick house renovation, proper preparation is key to achieving a professional finish. This section covers the essential steps to ensure your brick surface is ready for painting.
Inspect and Clean the Surface
Start by thoroughly inspecting your brick exterior for any damage or issues that need addressing before painting. Look for cracks, loose mortar, or signs of moisture problems.
Clean the brick surface to remove dirt, dust, and any loose particles. This can be done using a pressure washer or a stiff brush with a mixture of water and trisodium phosphate (TSP).
Allow the brick to dry completely before moving on to the next step. This may take 24 to 48 hours, depending on weather conditions.
Choose the Best Paint for Brick
Selecting the right paint is crucial for a successful exterior brick painting project. Opt for a breathable masonry paint that allows moisture to escape.
Consider factors such as climate, sun exposure, and the desired finish when choosing your paint. Acrylic latex paints are often recommended for their durability and ease of application.
Test your chosen paint on a small, inconspicuous area to ensure it adheres well and produces the desired color and finish.
Gather Necessary Tools and Materials
Collect all the tools and materials you’ll need before starting the painting process. This includes:
-
Paint brushes and rollers
-
Paint trays
-
Ladder or scaffolding
-
Painter’s tape
-
Drop cloths
-
Safety equipment (goggles, gloves, and a dust mask)
Having everything on hand will help the project run smoothly and efficiently.
Steps to Paint Your Brick House
Now that you’re prepared, it’s time to dive into the actual painting process. This section will guide you through the key steps to achieve a professional-looking finish on your brick exterior.
Apply a Quality Primer
Applying a primer is an essential step in painting a brick house. It helps the paint adhere better and provides a uniform base for the color coat.
Choose a primer specifically designed for masonry surfaces. Apply it evenly using a roller or sprayer, making sure to work it into all the nooks and crannies of the brick.
Allow the primer to dry completely before moving on to the paint application. This typically takes about 24 hours, but always check the manufacturer’s instructions.
Master the Painting Technique
When it comes to painting brick, technique is important for achieving an even, professional-looking finish.
Start at the top of the wall and work your way down, applying paint in small sections. Use a roller for large areas and a brush for edges and hard-to-reach spots.
Apply thin, even coats rather than one thick coat. This helps prevent drips and ensures better coverage. Allow each coat to dry completely before applying the next one.

Finishing Touches and Cleanup
Once you’ve applied the final coat of paint, take a step back and inspect your work. Touch up any missed spots or uneven areas.
Remove any painter’s tape while the paint is still slightly wet to avoid peeling. Clean your tools thoroughly with soap and water (for latex paints) or mineral spirits (for oil-based paints).
Allow the paint to cure fully before exposing it to harsh weather conditions. This can take up to 30 days, depending on the type of paint used.
Maintaining Your Newly Painted Brick Exterior
Proper maintenance is key to preserving the beauty and longevity of your newly painted brick exterior. This section provides tips on how to keep your paint job looking fresh for years to come.
Regular Inspection and Touch-ups
Conduct regular inspections of your painted brick exterior to catch any issues early. Look for signs of peeling, cracking, or fading.
Address any problems promptly with touch-up paint. Keep some of the original paint on hand for this purpose.
Clean your painted brick surface annually using a gentle detergent and a soft-bristled brush to remove dirt and prevent staining.
Protect Your Investment
Take steps to protect your painted brick from potential damage. This includes:
-
Trimming nearby vegetation to prevent moisture retention
-
Ensuring proper drainage around your home’s foundation
-
Applying a clear, breathable sealer every few years for added protection
By following these maintenance tips, you can extend the life of your painted brick exterior and keep your home looking fresh and appealing for years to come.
Remember, while painting a brick house can dramatically transform its appearance, it’s a significant undertaking. If you’re unsure about any part of the process, don’t hesitate to consult with a professional painter. They can provide expert advice and ensure your brick home improvement project is a success.