DIY or Hire a Pro? The Best Way to Paint Trim and When to Call [Company Name]
Painting trim can be a daunting task. You’ve spent hours trying to get those perfect, crisp lines, only to end up frustrated. Is there a better way? Whether you’re tackling baseboards, crown molding, or door frames, knowing the best way to paint trim can save you time and headaches. You’ll find out when to roll up your sleeves and when it’s time to call in the pros. Let’s get started on transforming your space with flawless finishes.## Best Way to Paint Trim
Paint
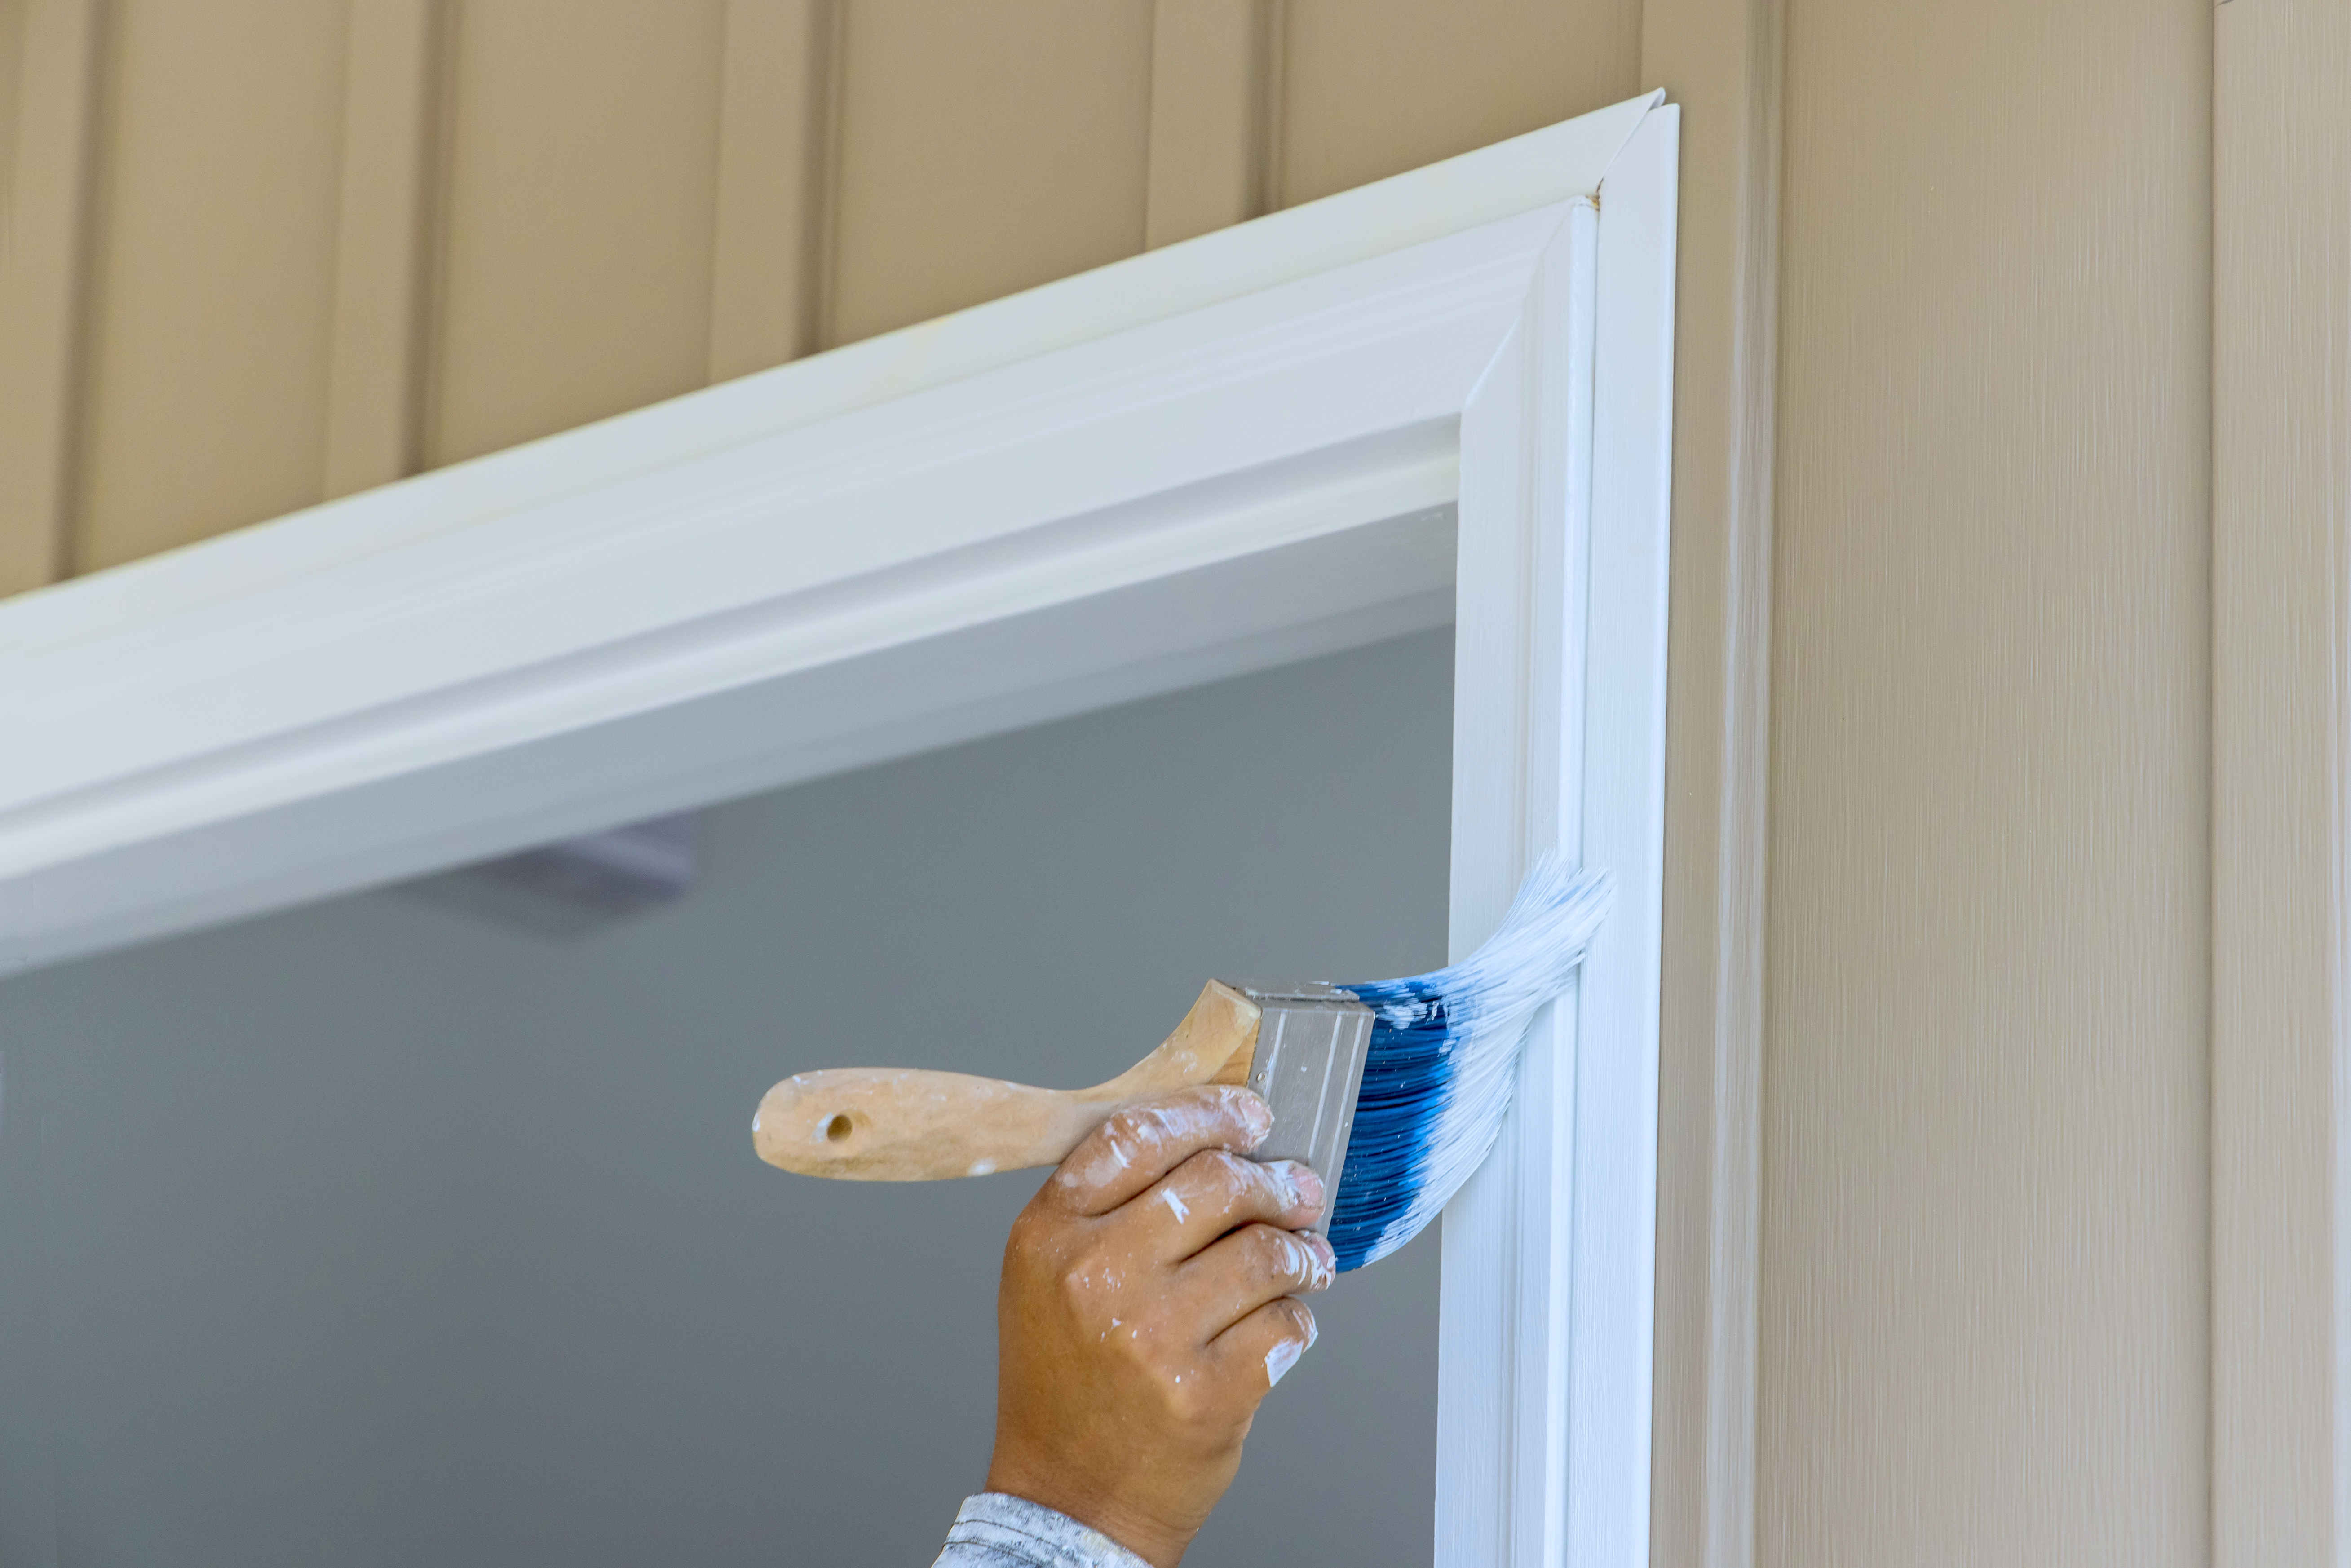
ing trim can make a significant difference in the overall look of your room. This section will cover the essential steps and techniques for achieving a professional finish on your trim.
Preparation and Materials
Before you start painting, proper preparation is key to a smooth and long-lasting finish.
First, gather your materials. You’ll need paintbrushes (angled for precision), painter’s tape, sandpaper, wood filler, primer, and your chosen paint. Quality tools make a big difference in the final result.
Next, clean the trim thoroughly. Remove dust, dirt, and grime with a damp cloth and let it dry completely. Sand the surface lightly to create a better surface for the paint to adhere to.
Fill any holes or cracks with wood filler and sand again once it’s dry. This step ensures a smooth, even surface for painting.
Finally, apply painter’s tape to protect adjacent surfaces. Take your time with this step – precise taping leads to crisp, clean lines.
Techniques for Smooth Finish
Achieving a smooth finish on trim requires patience and the right technique.
-
Start with a coat of primer. This helps the paint adhere better and provides a uniform base color.
-
Once the primer is dry, lightly sand it for an ultra-smooth surface.
-
When painting, use long, smooth strokes in the same direction as the wood grain.
For the best results, apply thin coats rather than one thick coat. This reduces the risk of drips and allows for better coverage.
Between coats, lightly sand the surface again. This helps to eliminate any brush marks or imperfections from the previous coat.
Remember, the best way to paint trim often involves multiple thin coats. While it might seem time-consuming, the end result is worth the extra effort.
Best Way to Paint Trim Before Installing
Painting trim before installation can be a smart approach, saving time and ensuring a neater finish. This section explores the advantages of this method and how to execute it effectively.
Timing and Planning
Painting trim before installation requires careful planning but can lead to superior results.
The main advantage of this approach is accessibility. You can easily paint all sides of the trim without worrying about walls or floors. This is particularly useful for intricate moldings or baseboards.
Timing is crucial. Plan to paint your trim a few days before installation to allow ample drying time. This prevents damage to the fresh paint during the installation process.
Consider the room’s overall color scheme when choosing your trim paint. While white is a classic choice, don’t be afraid to explore other options that complement your walls and flooring.
Tools and Techniques
The tools and techniques for painting trim before installation are similar to painting installed trim, with a few key differences.
Set up a dedicated painting area, preferably outdoors or in a well-ventilated space. Use sawhorses or a sturdy table to elevate the trim pieces for easy access.
Apply primer first, then sand lightly once dry. This creates an ideal surface for the paint to adhere to.
When painting, use a brush or small roller for even coverage. Pay special attention to the edges and any decorative details.
Allow each coat to dry completely before applying the next. This patience pays off in a smoother, more durable finish.
Remember to paint the back edges of the trim as well. This extra step prevents unpainted wood from being visible if the trim shrinks or warps slightly after installation.