Mastering the Art of Trim: The Best Way to Paint Trim for a Flawless Finish
Do you ever feel like your trim paint jobs never quite achieve that professional finish? You’re not alone. Many homeowners struggle to find the best way to paint trim, whether it’s baseboards, crown molding, or window frames. But what if you could change that with a few simple techniques? In this guide, we’ll walk you through the secrets of painting trim for a flawless finish, revealing tips that many overlook. It’s time to transform your space with the confidence of a pro.## Preparing Trim for Painting
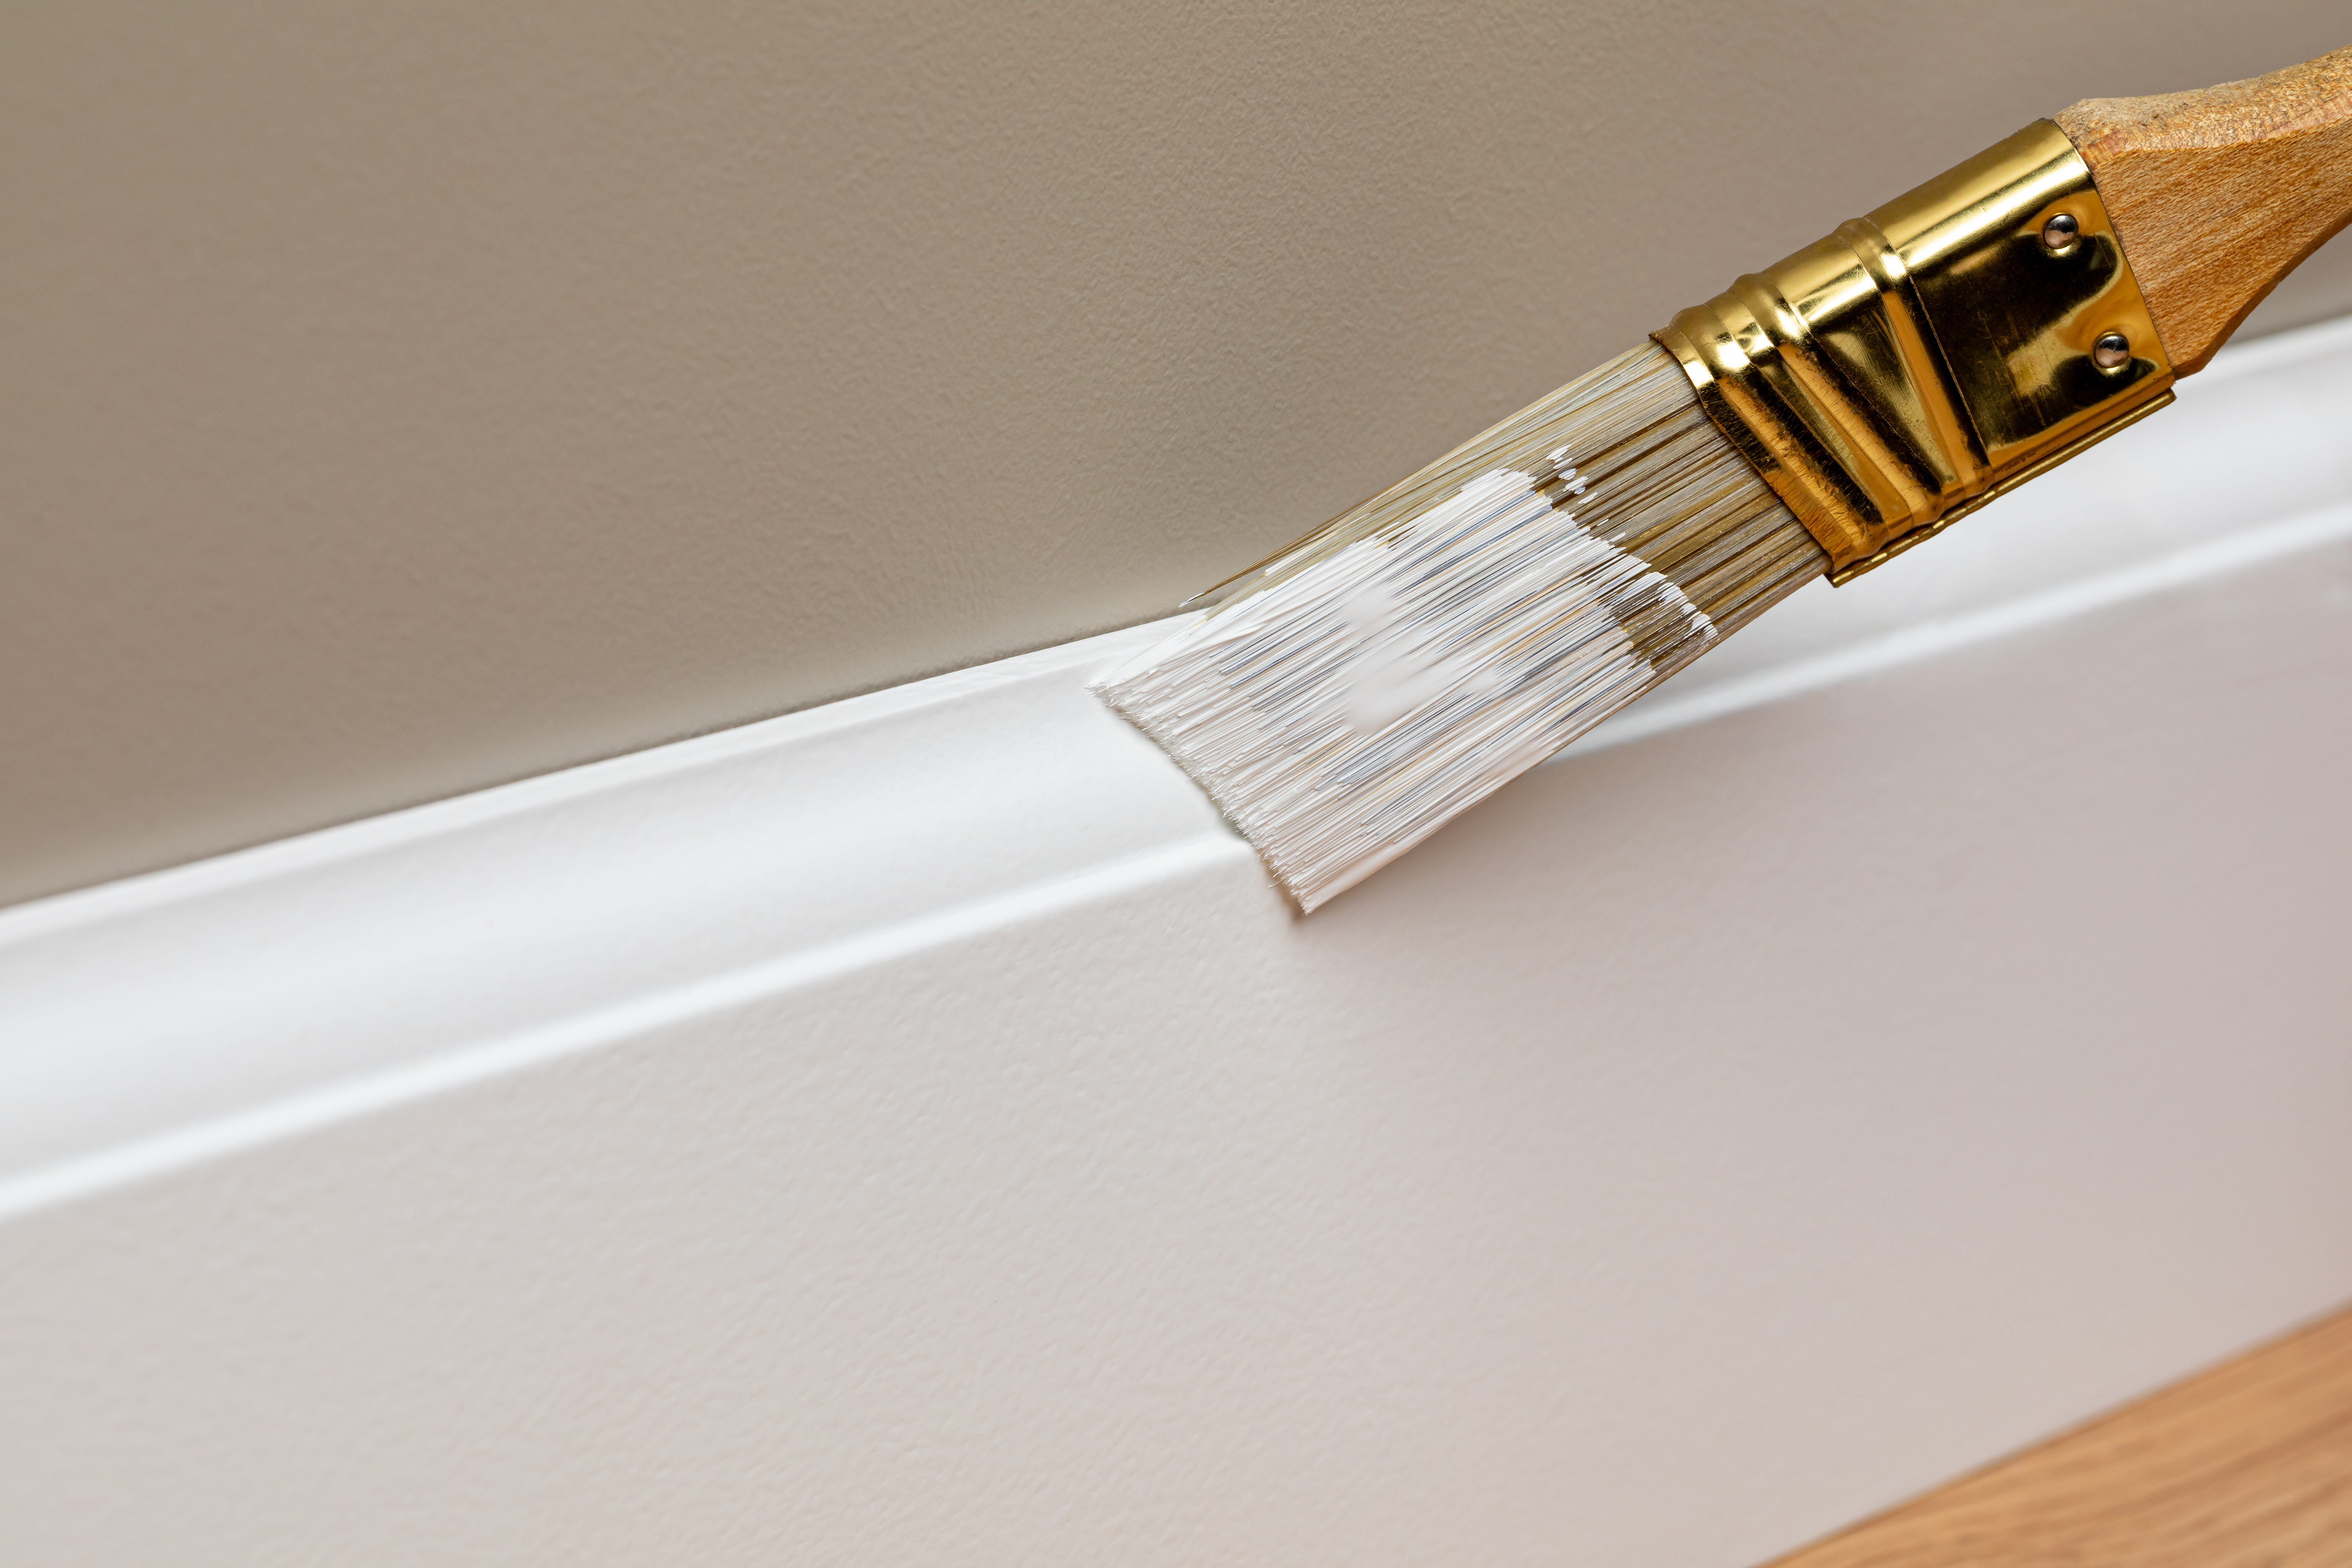
Before you start painting, proper preparation is key to achieving a flawless finish. This section covers the essential steps to get your trim ready for a professional-looking paint job.
Choosing the Right Tools
Selecting the proper tools is crucial for a successful trim painting project. The right equipment can make the job easier and result in a better finish.
For trim painting, you’ll need high-quality brushes designed for detail work. Look for angled brushes with synthetic bristles, which work well with both oil-based and latex paints.
A paint roller with a small nap (1/4 inch or less) can be useful for larger trim areas. Don’t forget painter’s tape, sandpaper, and a putty knife for surface preparation.
Consider investing in a paint sprayer if you have a lot of trim to paint. While it requires more setup and cleanup, it can provide a smooth, even finish in less time.
Cleaning and Sanding Techniques
Proper cleaning and sanding are vital steps in preparing trim for painting. These processes ensure better paint adhesion and a smoother final result.
Start by thoroughly cleaning the trim with a mild detergent solution to remove dirt, dust, and grease. For older trim, you may need to use a stronger cleaner to remove built-up grime.
Once clean and dry, lightly sand the trim with fine-grit sandpaper (120-220 grit). This step helps to smooth out any imperfections and creates a surface that paint can easily adhere to.
After sanding, wipe down the trim with a tack cloth to remove all dust. This final cleaning step is crucial for achieving a smooth, professional-looking finish.
Applying Primer and Paint
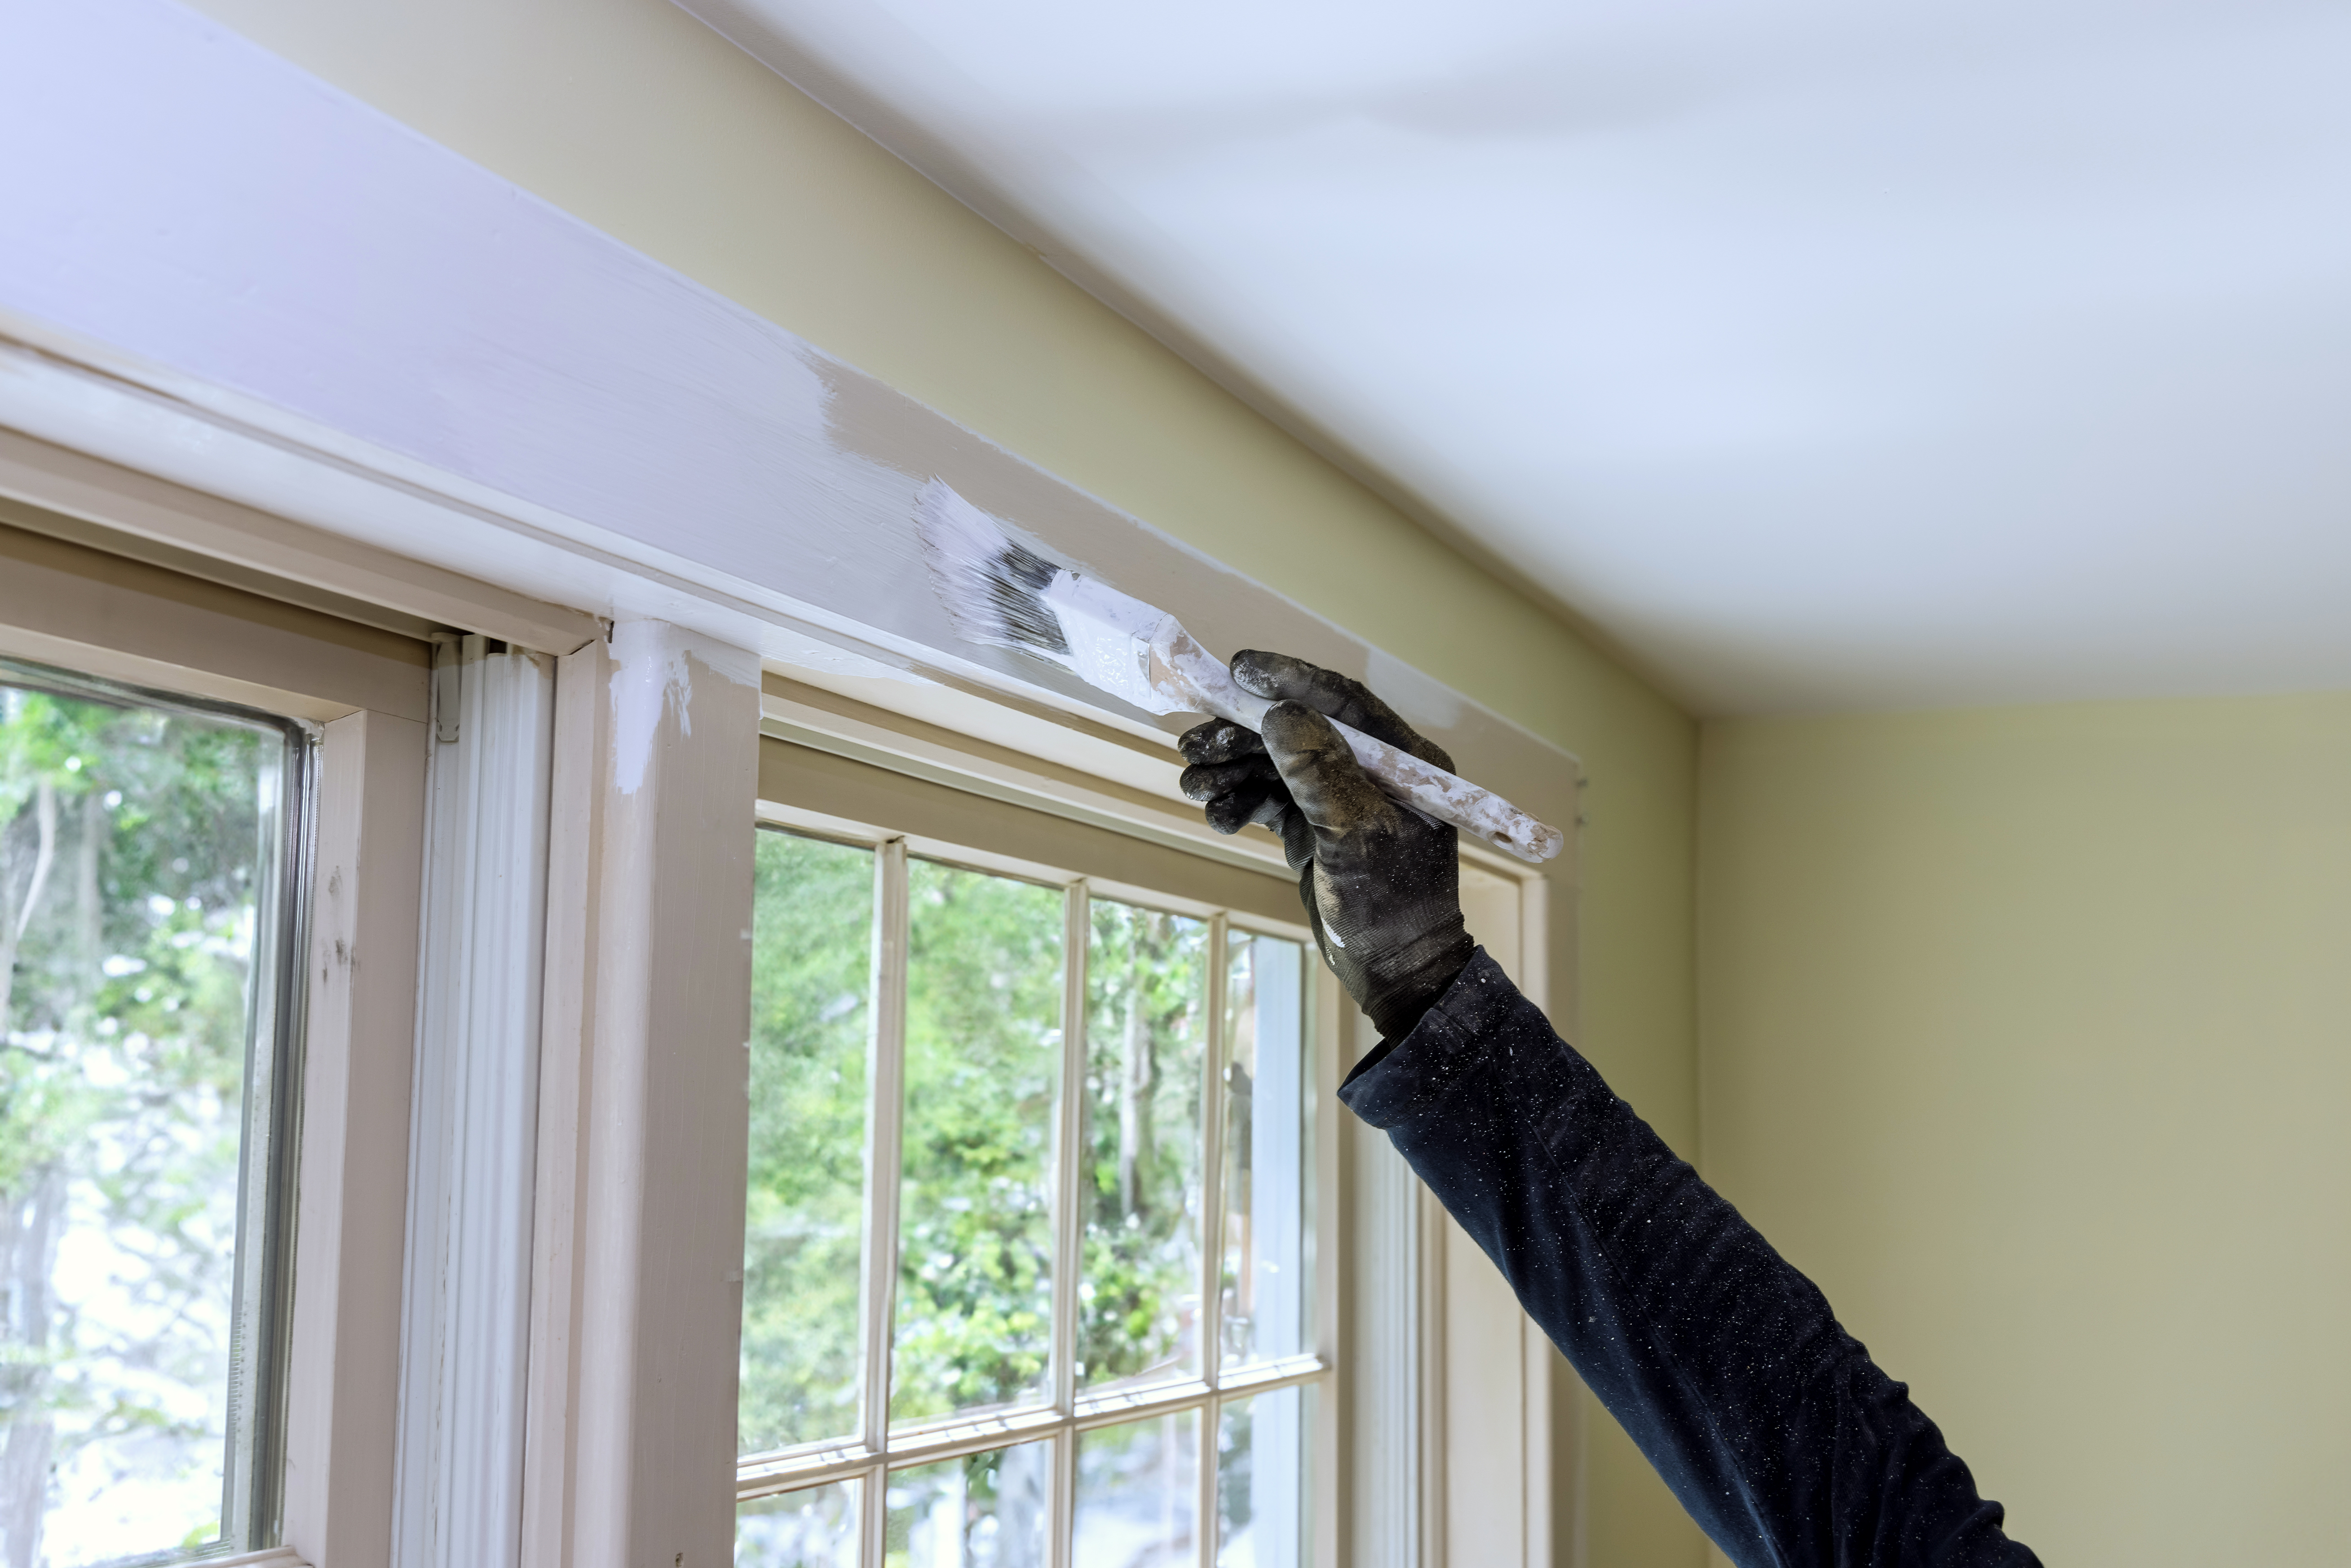
With your trim properly prepared, it’s time to move on to the actual painting process. This section will guide you through the best techniques for applying primer and paint to your trim.
Best Way to Paint Trim
The best way to paint trim involves a combination of proper technique and patience. Following these steps will help you achieve a professional-looking finish.
-
Start by applying a coat of primer. This step is especially important if you’re painting bare wood or making a significant color change.
-
Once the primer is dry, lightly sand it with fine-grit sandpaper and wipe clean with a tack cloth.
-
When painting, use long, smooth strokes in the same direction as the wood grain. This technique helps minimize visible brush strokes.
For the smoothest finish, consider using a paint sprayer. If using a brush, choose one with high-quality synthetic bristles for the best results.
Best Way to Paint Trim Before Installing
Painting trim before installation can be a smart strategy, saving time and resulting in a cleaner finish. Here’s how to approach this method effectively.
Start by laying out your trim pieces on sawhorses or a large, flat surface. This setup allows you to easily access all sides of the trim.
Apply primer and paint as you would for installed trim, but take advantage of the easier access to paint all sides, including the back. This thorough coverage can help prevent warping or other issues caused by moisture.
Allow the paint to fully dry before installation. Once dry, handle the trim carefully during installation to avoid scratches or dings. Touch up any areas affected by the installation process after the trim is in place.