Mastering the Art of Trim: The Best Way to Paint Trim for a Polished Finish
Painting trim can feel like trying to solve a puzzle with missing pieces. You want that crisp, clean finish, but every brushstroke seems to reveal new hurdles. Don’t worry—there’s a method that simplifies the chaos. Discover the best way to paint trim for a polished finish that will make your baseboards, crown molding, and frames stand out. Whether you’re tackling new installations or refreshing old ones, this guide will help you achieve professional results without the stress.## Preparing Trim for Painting
Before you start painting, proper preparation is key to achieving a smooth, professional finish. This section covers the essential steps to get your trim ready for its new coat.
Cleaning and Sanding Basics
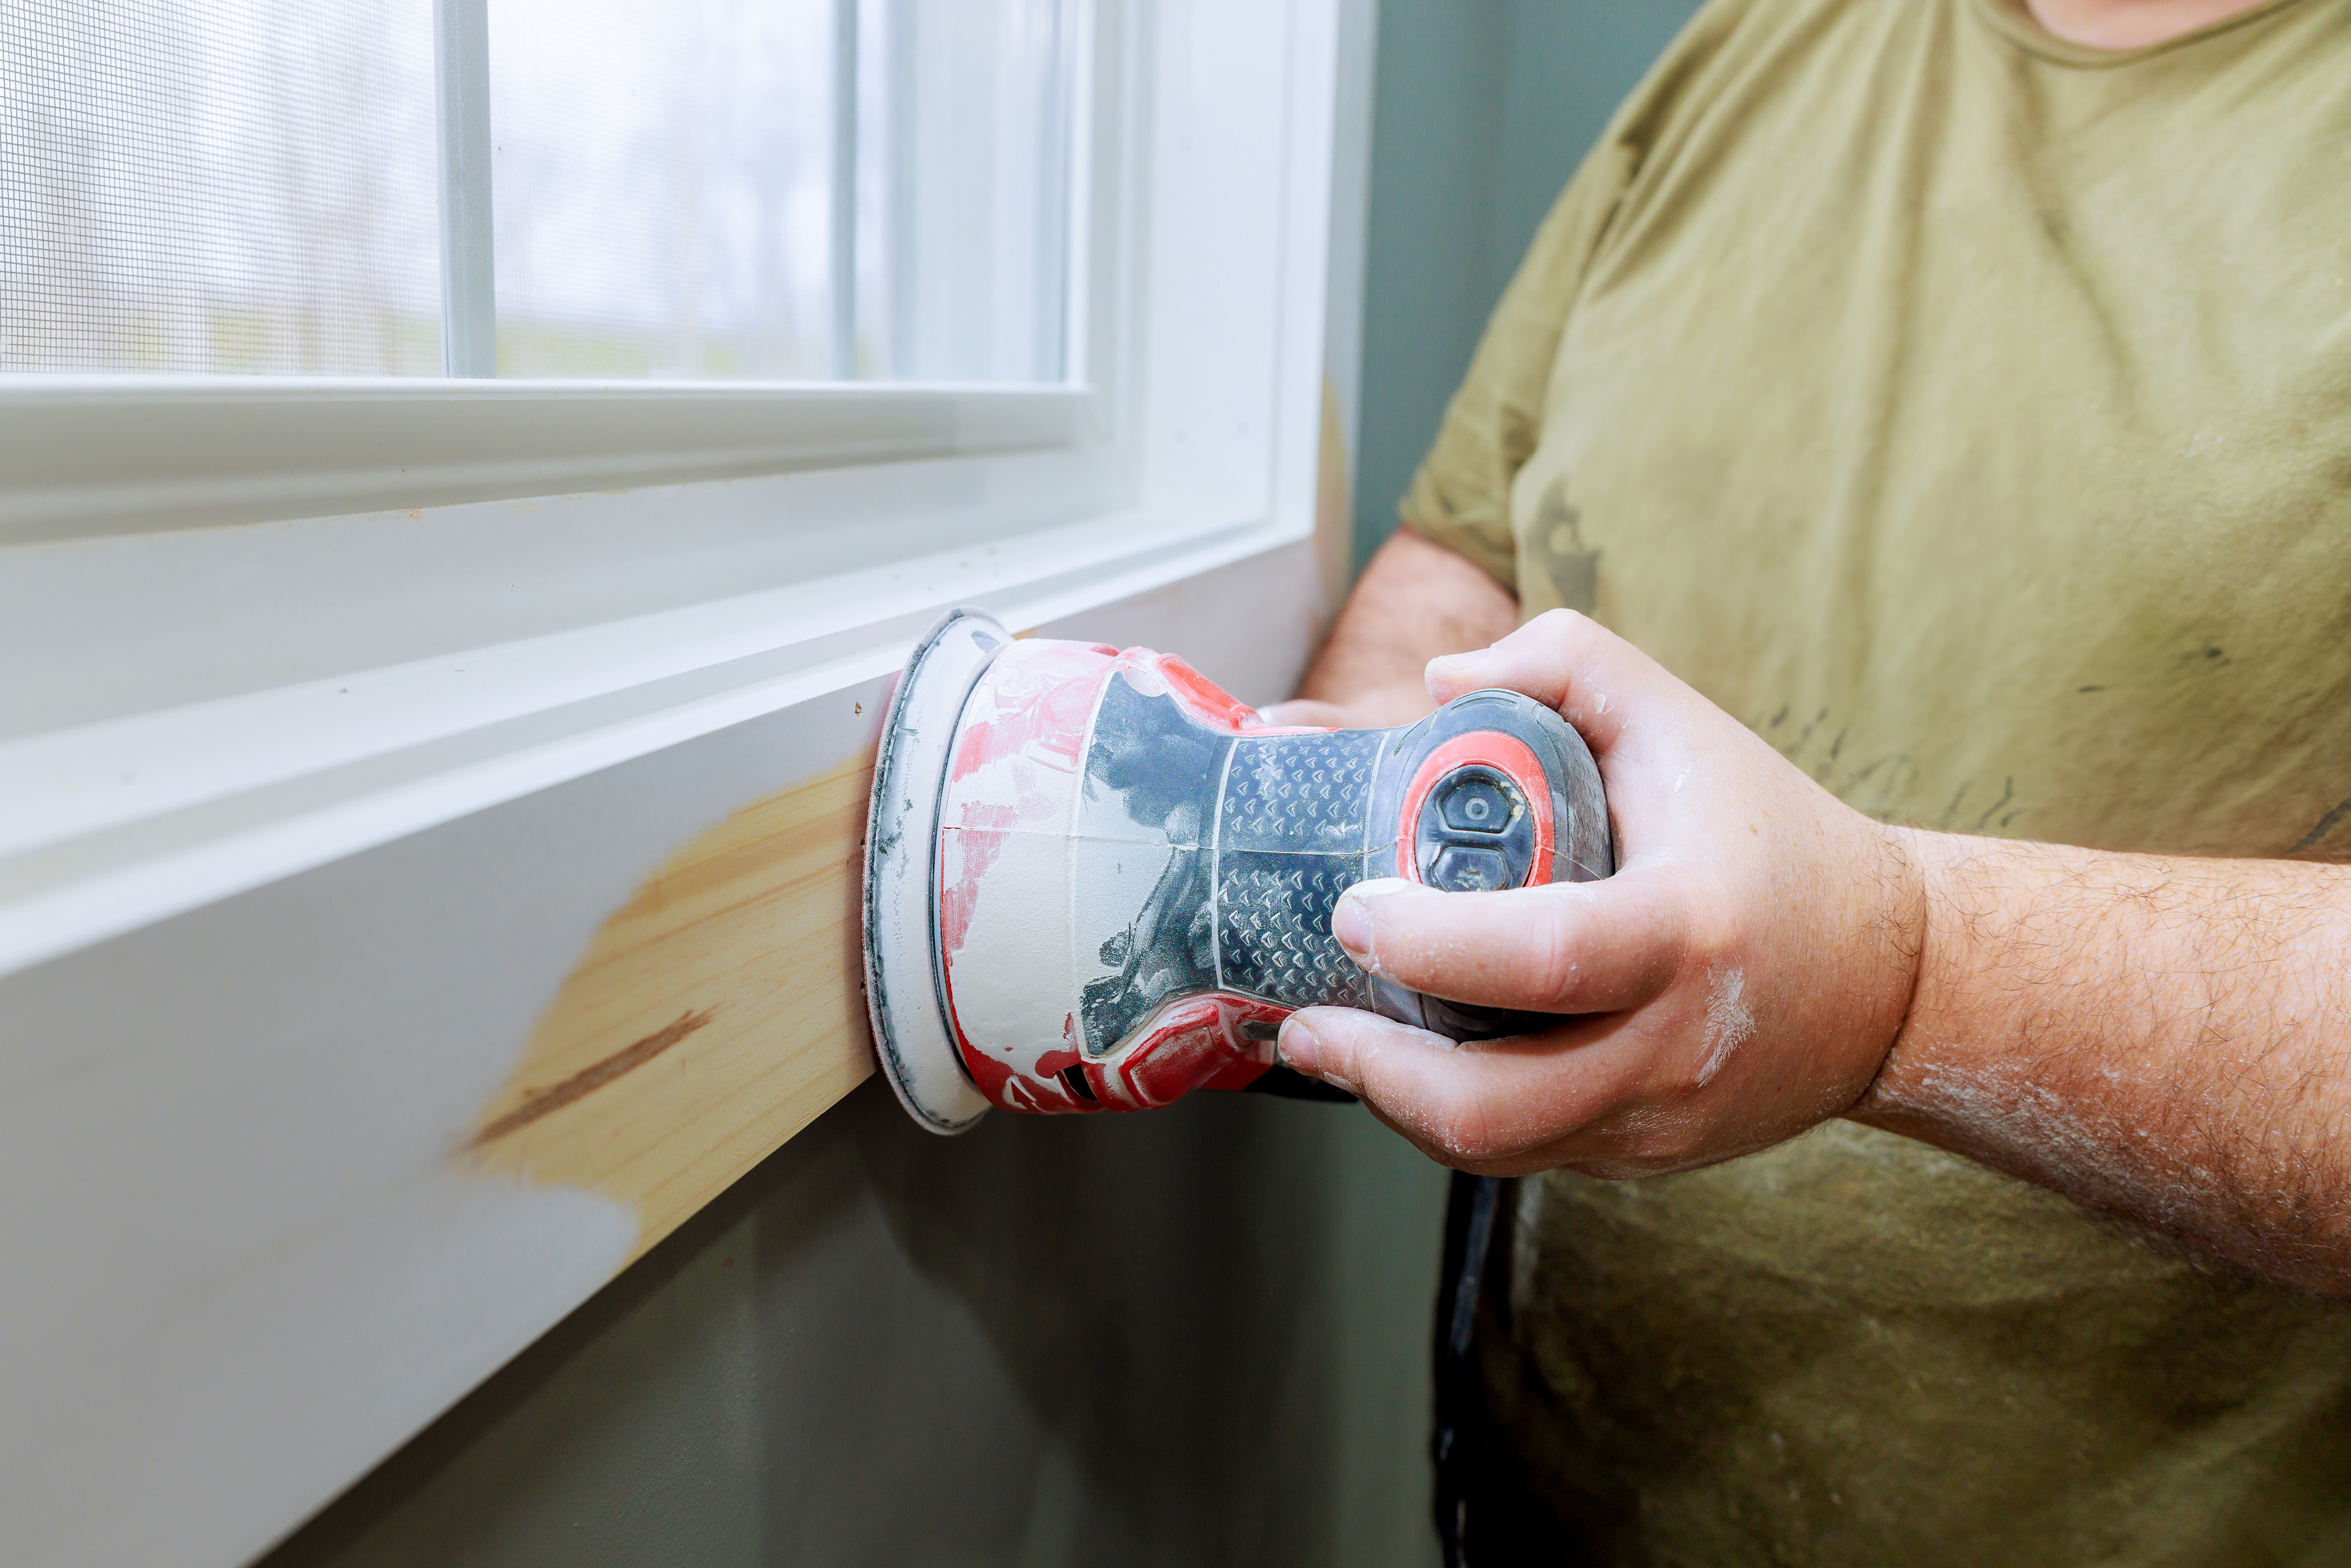
Cleaning and sanding are crucial first steps in preparing trim for painting. These processes ensure a smooth surface and better paint adhesion.
Start by thoroughly cleaning the trim with a mild detergent solution. This removes dirt, grime, and oils that could interfere with paint adhesion. Rinse with clean water and allow the trim to dry completely.
Next, sand the trim lightly with fine-grit sandpaper (180-220 grit). This step smooths out any imperfections and creates a slightly rough surface for the paint to grip. Be sure to sand in the direction of the wood grain to avoid scratches.
After sanding, wipe down the trim with a tack cloth to remove all dust particles. This final cleaning step ensures a pristine surface for painting.
Priming for a Smooth Finish
Priming is an often overlooked but essential step in the best way to paint trim. It creates an ideal surface for paint adhesion and helps achieve a uniform finish.
Choose a high-quality primer suitable for your trim material. For new wood trim, use a stain-blocking primer to prevent knots and sap from bleeding through the paint. For previously painted trim, a general-purpose primer will suffice.
Apply the primer using a brush or roller, following the wood grain. Allow it to dry completely according to the manufacturer’s instructions. Once dry, lightly sand the primed surface with fine-grit sandpaper to remove any raised grain or brush marks.
Wipe away any dust with a tack cloth before proceeding to paint. This extra step ensures the smoothest possible surface for your final coat.
Painting Techniques for Trim
Now that your trim is prepped and primed, it’s time to apply the paint. This section covers the tools and techniques you’ll need for a professional-looking finish.
Choosing the Right Brush
Selecting the appropriate brush is crucial for achieving a smooth, even finish when painting trim. The right tool can make a significant difference in your results.
For oil-based paints, choose a natural bristle brush. These brushes work well with the thicker consistency of oil-based paints and provide a smooth finish. For water-based or latex paints, opt for a synthetic bristle brush, which maintains its shape better in water-based solutions.
Size matters too. A 2-inch angled brush is ideal for most trim work. The angled tip allows for precise application in corners and along edges. For wider trim pieces, you might prefer a 2.5 or 3-inch brush to cover more area efficiently.
Invest in a high-quality brush. While it may cost more upfront, a good brush will hold more paint, apply it more evenly, and last longer if properly cared for.
Mastering the Paint Stroke
The technique you use to apply paint can significantly impact the final look of your trim. Mastering the proper paint stroke is essential for a professional finish.
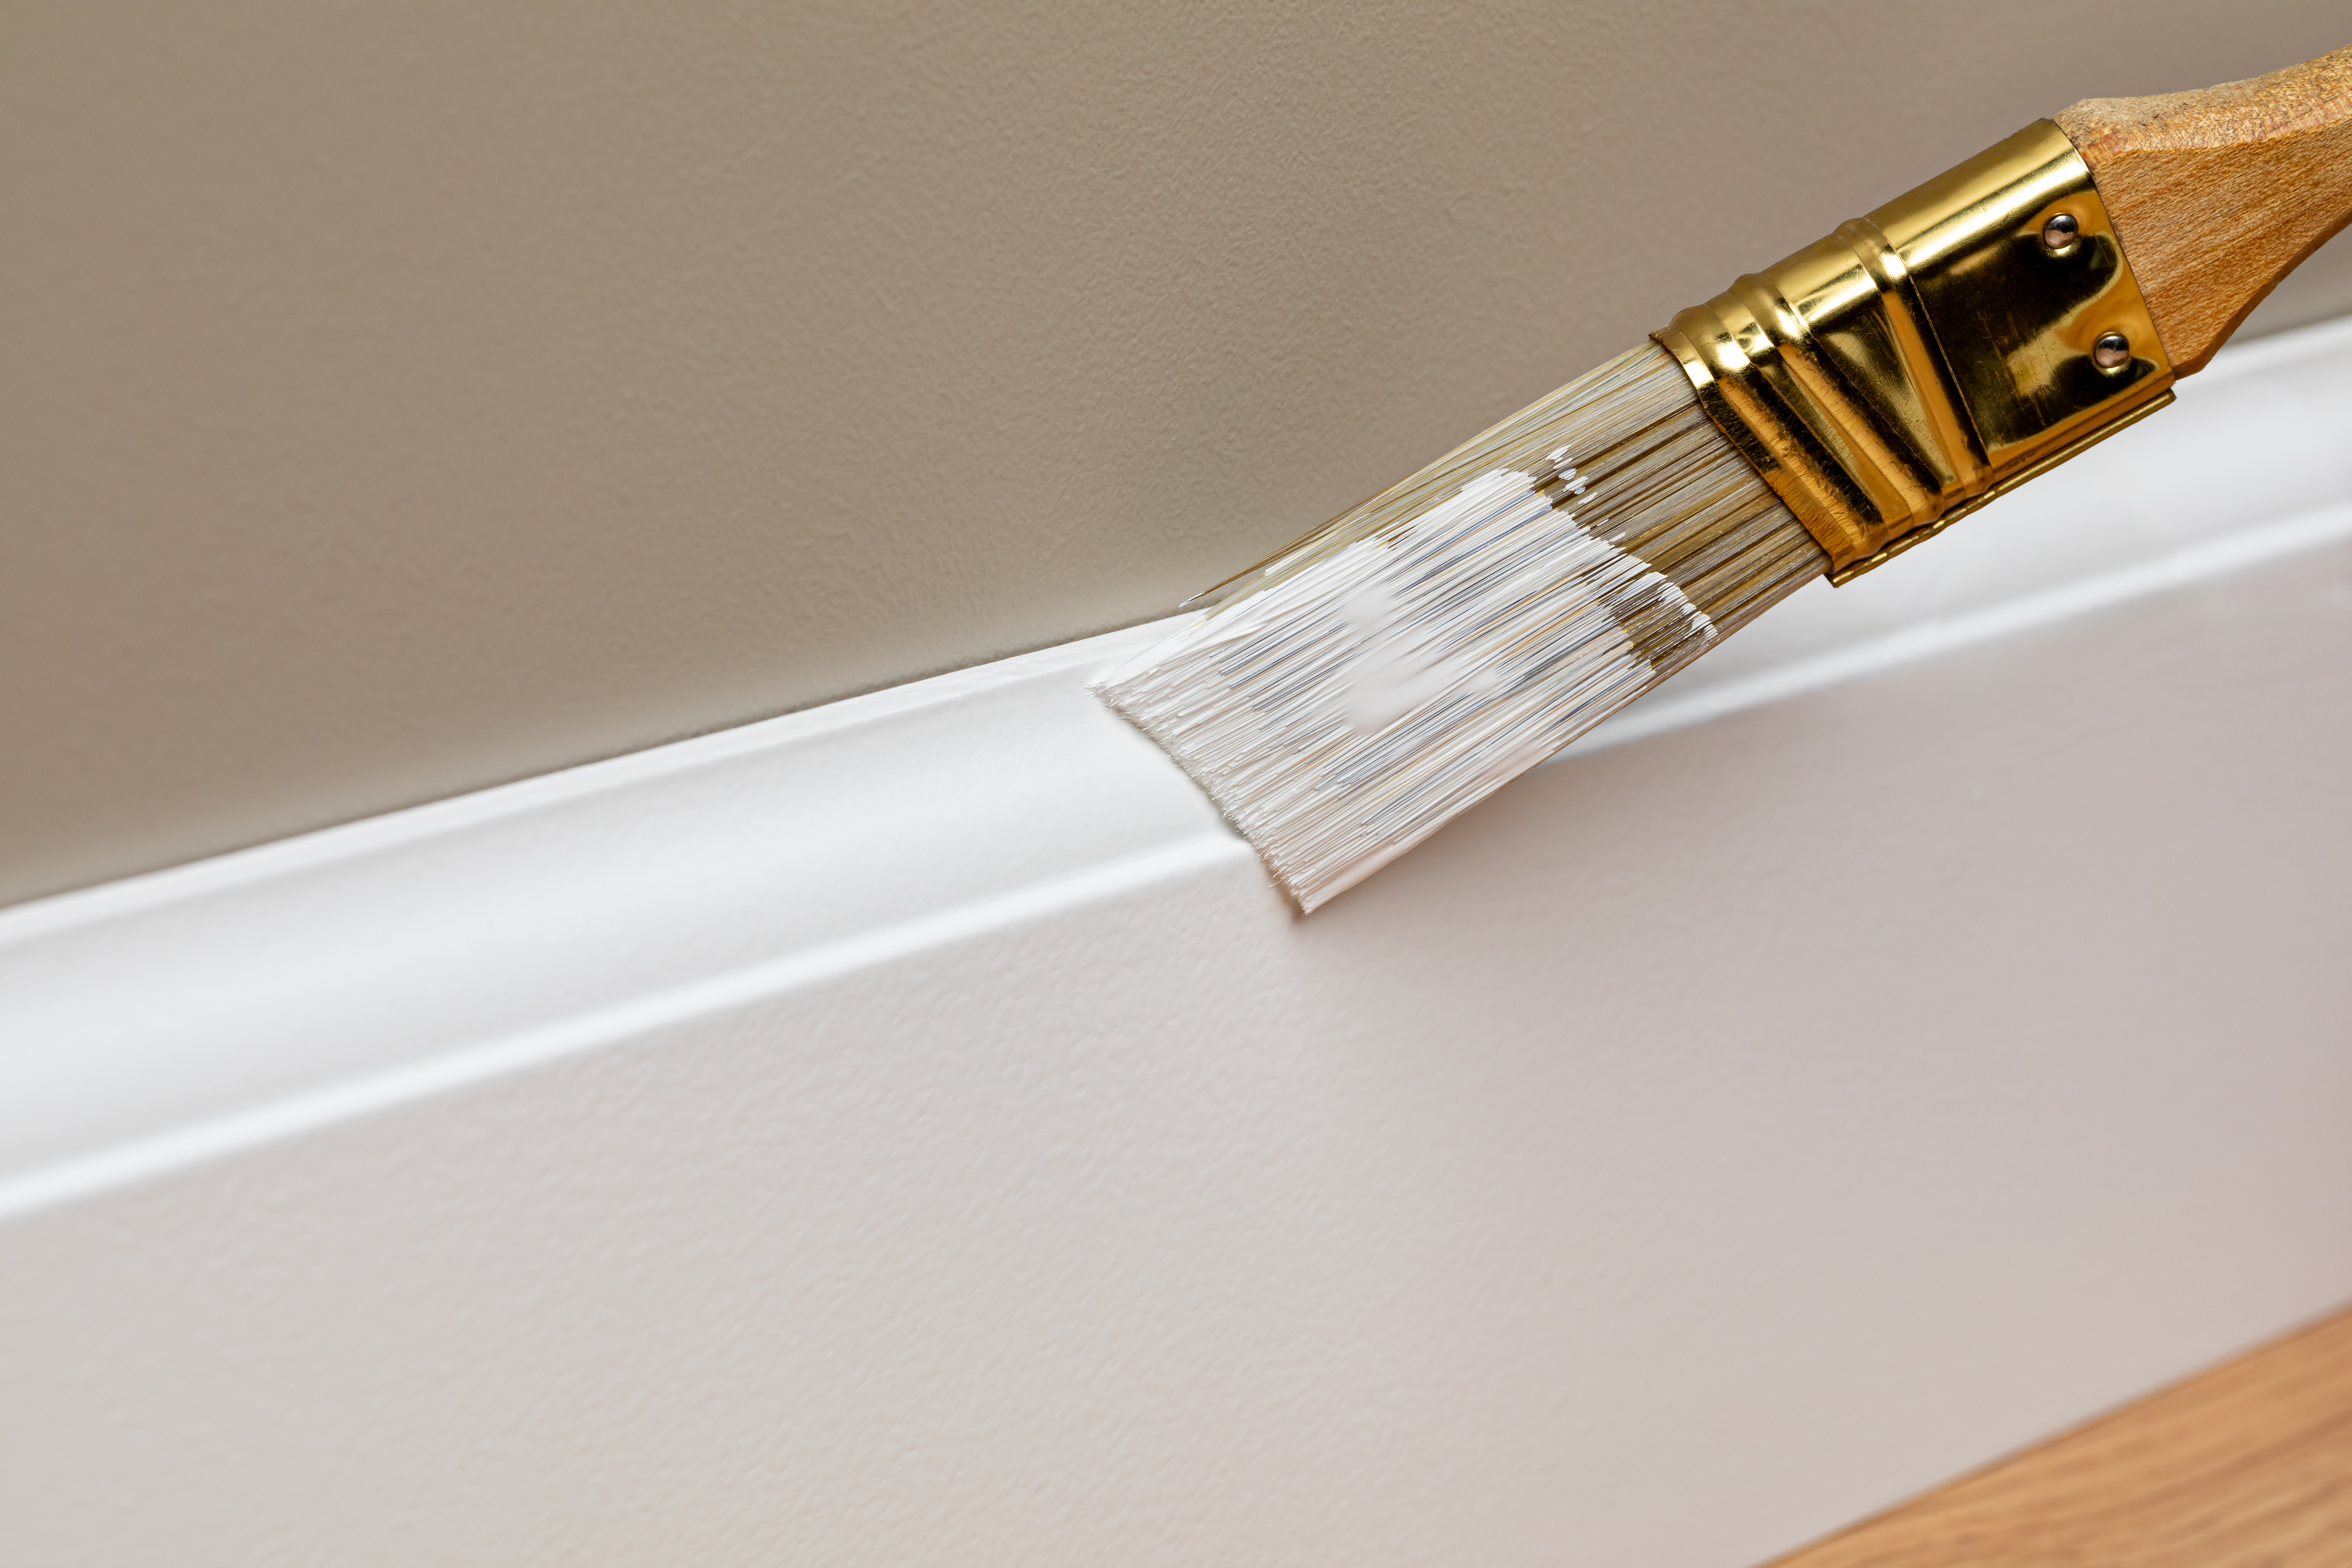
Start by loading your brush properly. Dip it about one-third of the way into the paint, then tap (don’t wipe) the brush against the side of the can to remove excess. This ensures you have enough paint on the brush without overloading it.
When painting, use long, smooth strokes in the direction of the wood grain. Start about an inch from where you last painted and work your way to the unpainted area. This technique, known as “painting into a wet edge,” helps prevent visible brush marks and lap lines.
For the best way to paint trim before installing, lay the pieces flat if possible. This allows you to paint all sides evenly and prevents drips. Remember to let each side dry completely before flipping to paint the next.

