Painting Door and Trim: A Friendly Guide for Homeowners and Property Managers
Welcome to our friendly guide on painting door and trim, where we aim to make your home improvement projects both enjoyable and successful. Whether you’re a homeowner looking to refresh your living space or a property manager preparing a rental for new tenants, painting interior doors can offer a significant boost to the aesthetic appeal of any room. This post is designed to give you practical advice and creative ideas on choosing the right colors and finishes to perfectly complement your decor. As your trusted advisor, we’ll guide you through the process with tips that ensure quality and professionalism every step of the way. Feel free to reach out with any questions or to book our services for an expert touch.
Getting Started with Painting Door and Trim
Before diving into the details of painting door and trim, it’s important to understand the basics. This section will cover the essential steps to begin your project, including selecting the right materials and preparing your workspace.
Choosing the Right Paint
Selecting the appropriate paint is crucial for achieving a professional finish when painting door and trim. The type of paint you choose can affect durability, appearance, and ease of application.
For interior doors and trim, semi-gloss or high-gloss paints are often recommended. These finishes are easy to clean and resist wear and tear, making them ideal for high-traffic areas.
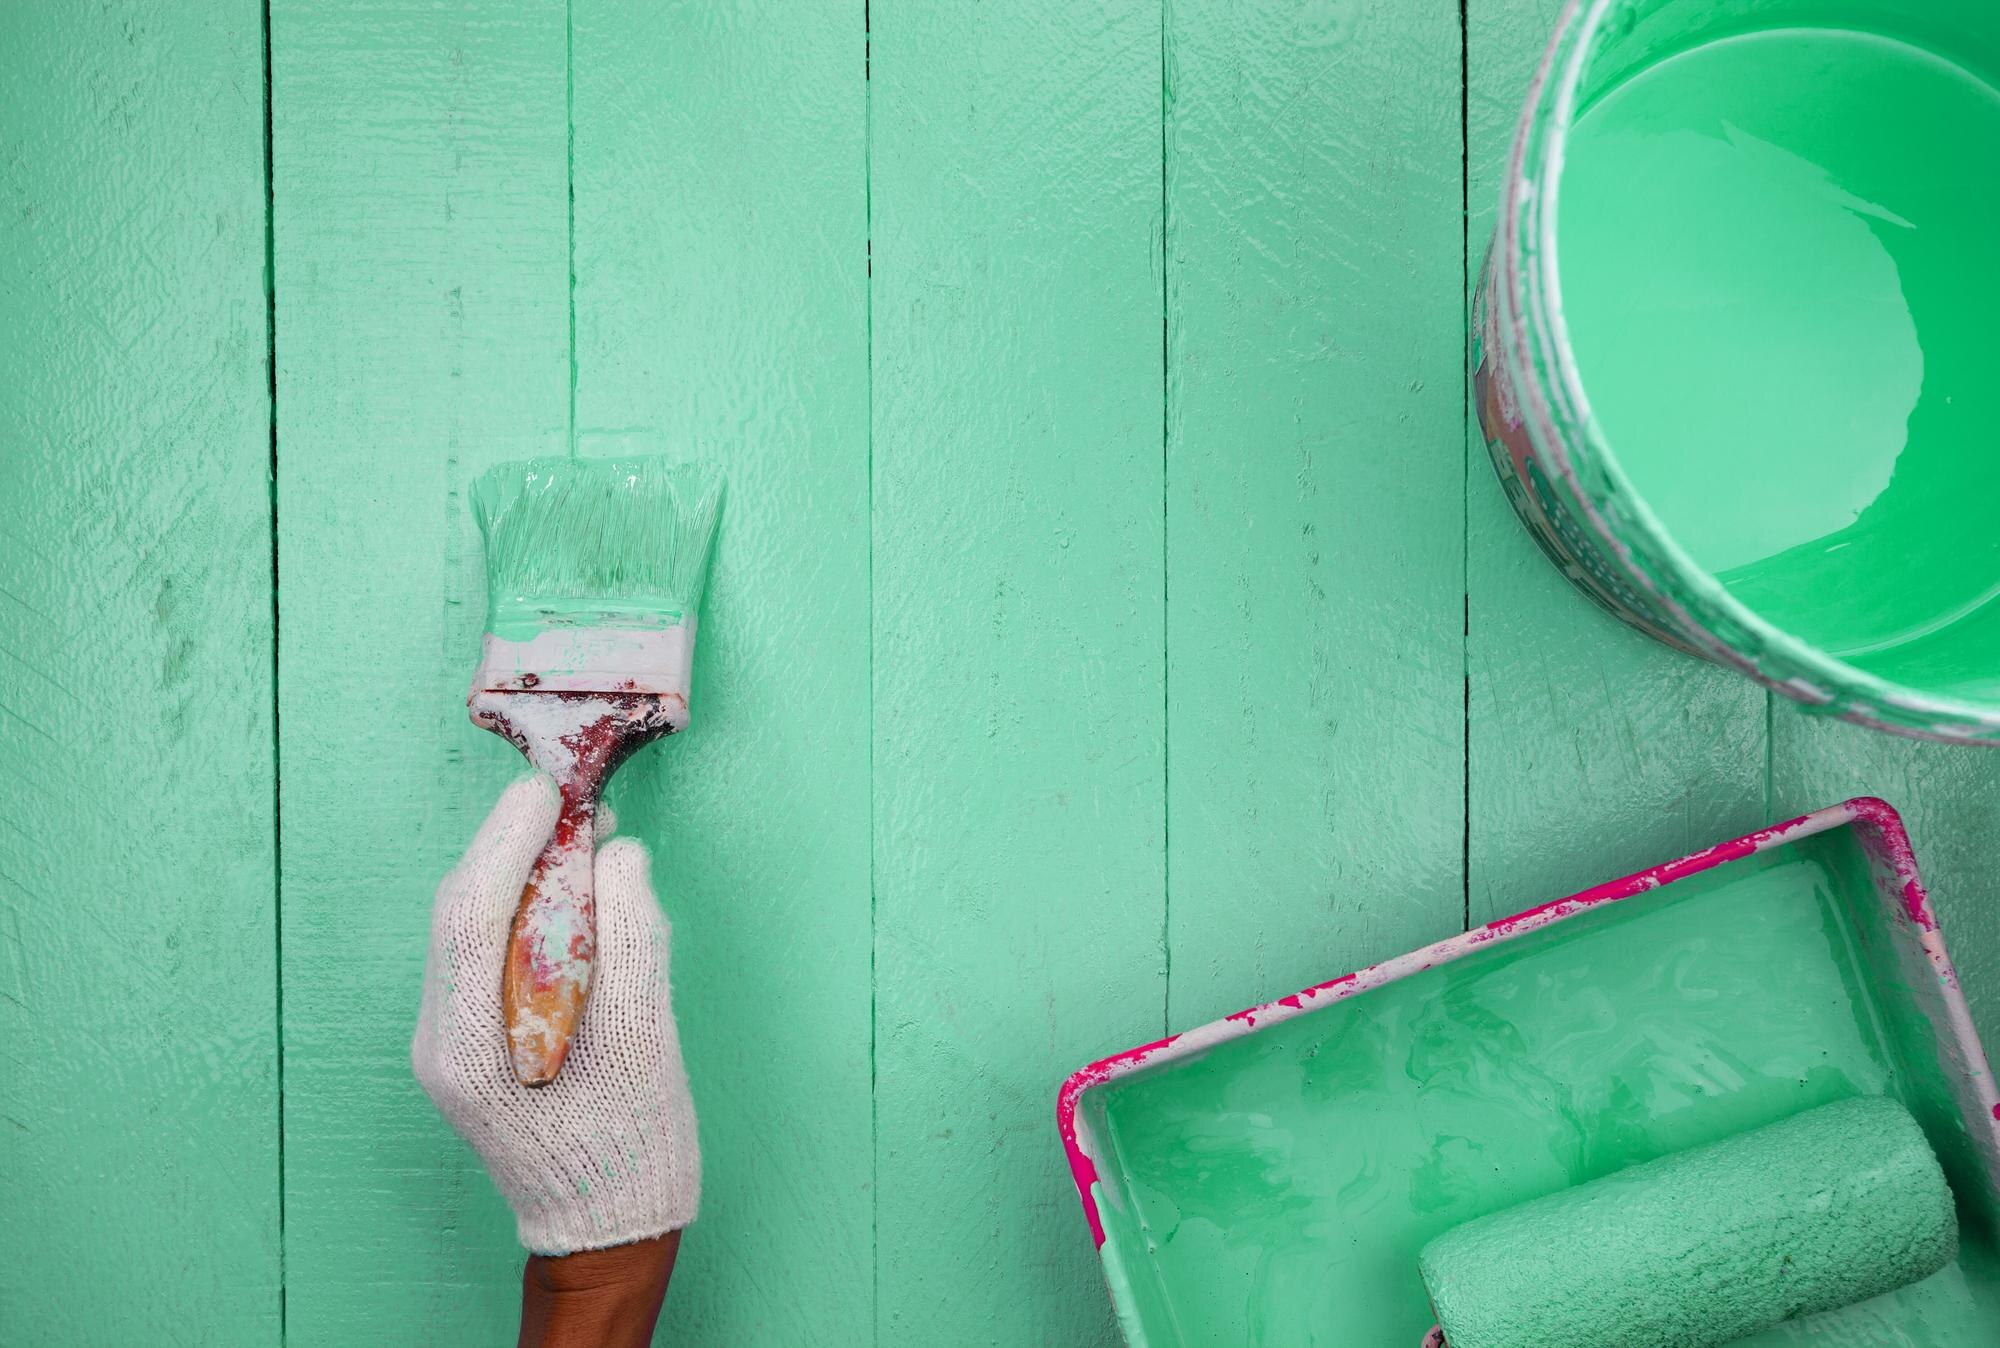
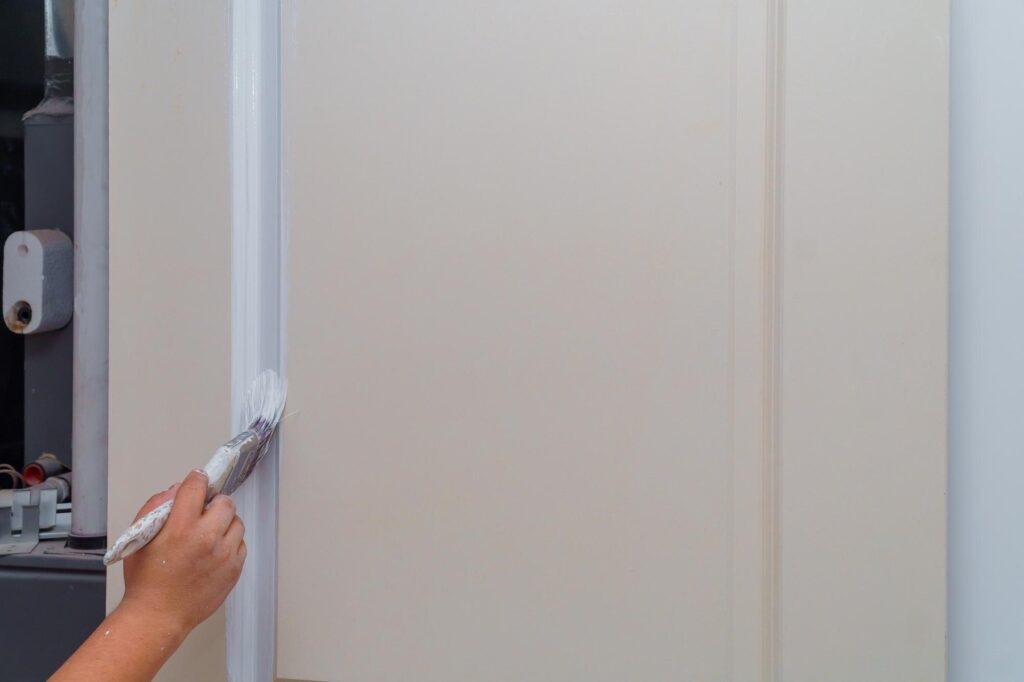
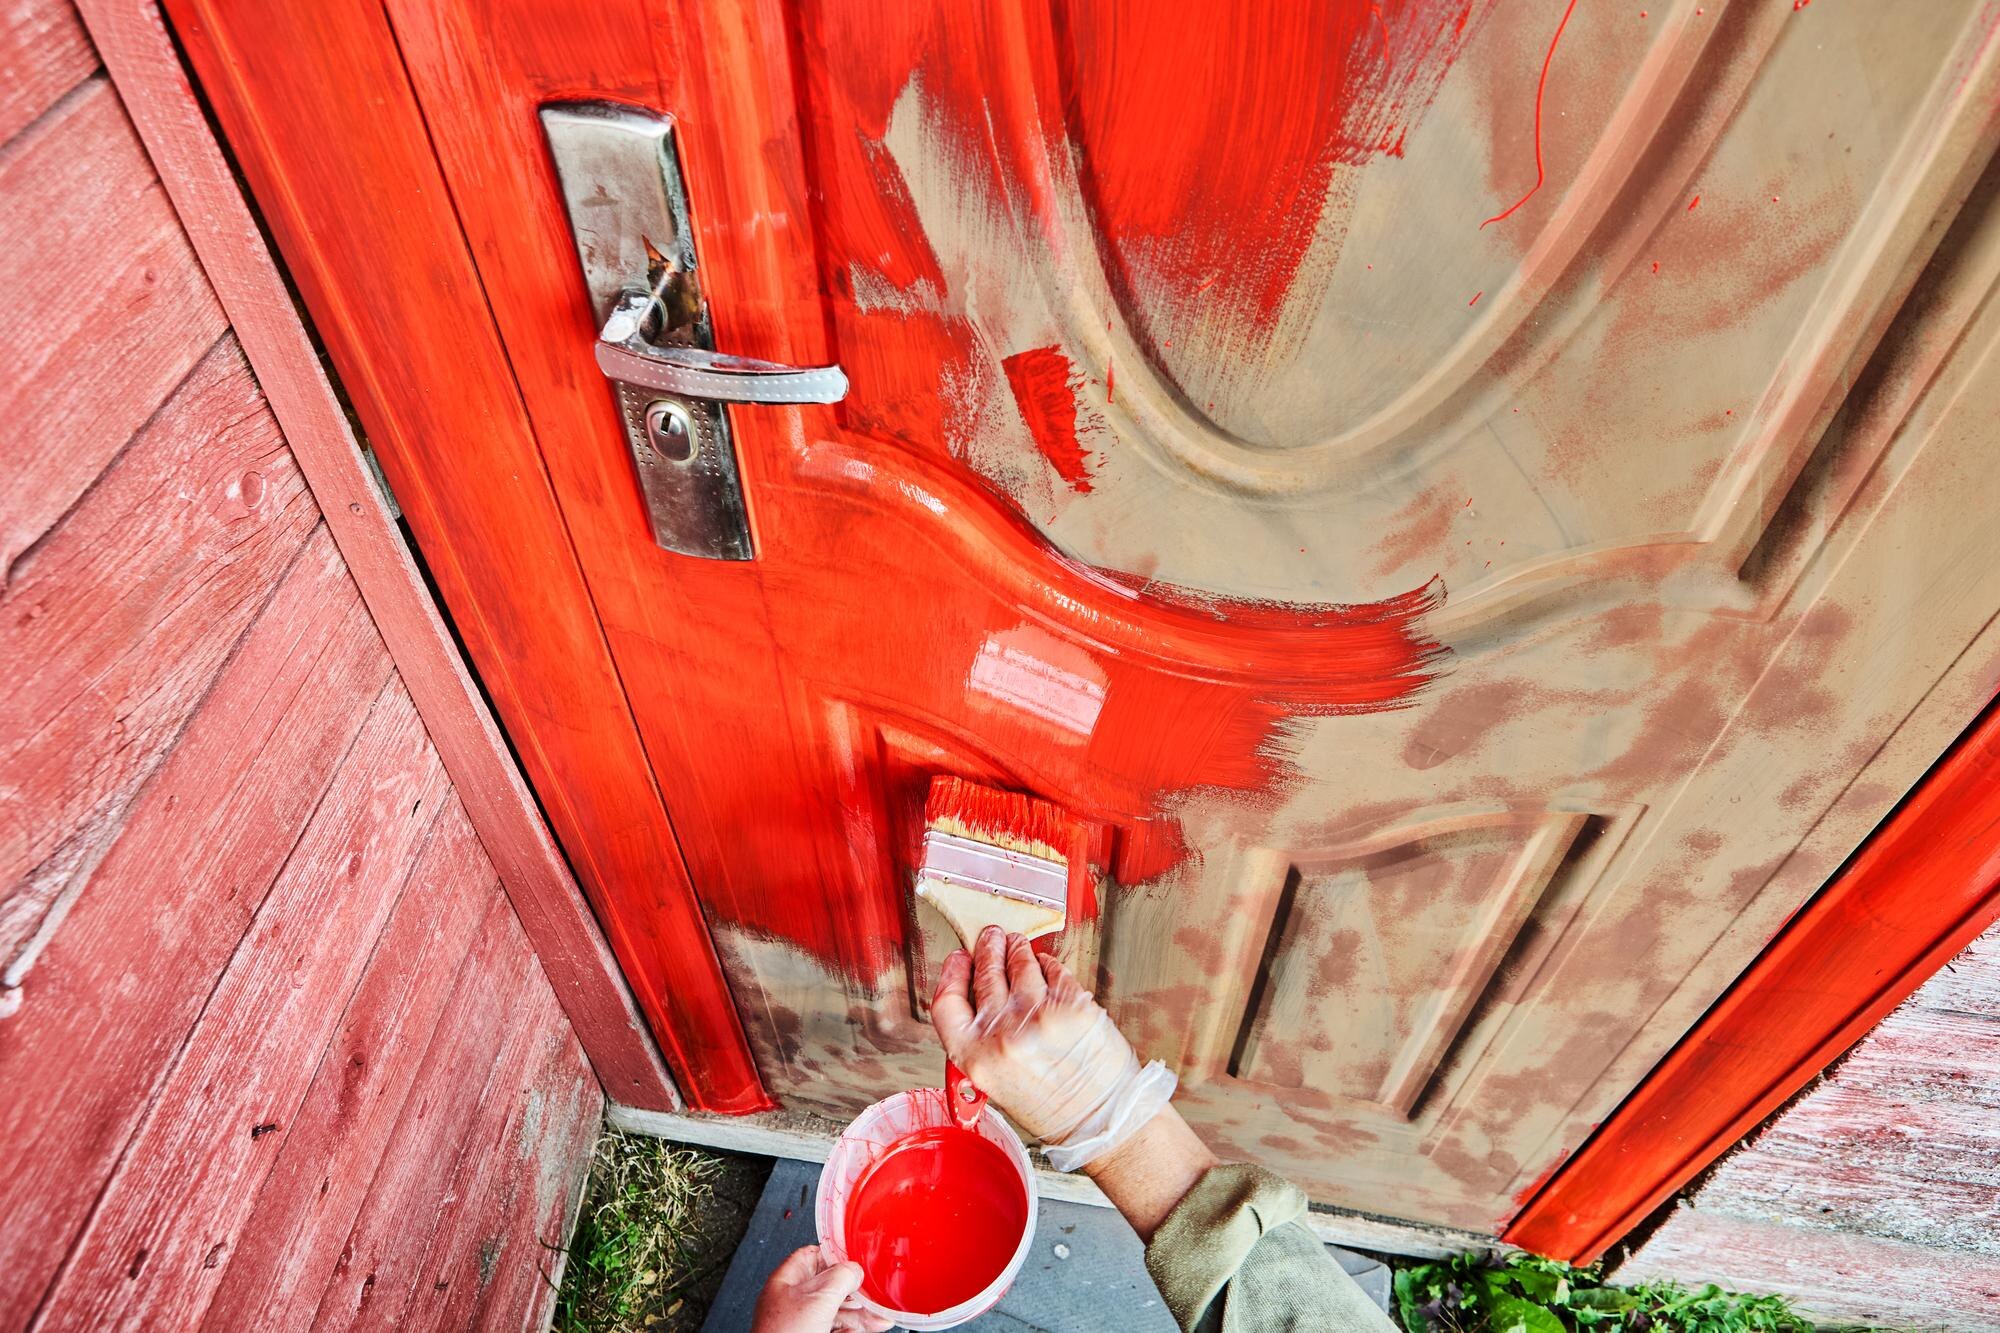
When considering color, think about how it will complement your existing decor. White is a classic choice for trim, but don’t be afraid to experiment with bolder hues for a unique look.
Remember to choose a paint specifically formulated for doors and trim. These paints are designed to provide a smooth finish and adhere well to these surfaces.
Preparing Your Surfaces
Proper surface preparation is key to achieving a smooth, long-lasting finish when painting door and trim. This step is often overlooked but can make a significant difference in the final result.
Start by cleaning the surfaces thoroughly with a mild detergent solution to remove dirt and grime. For glossy surfaces, light sanding may be necessary to ensure paint adhesion.
Fill any holes or imperfections with wood filler, then sand smooth once dry. Wipe away any dust with a tack cloth before applying primer.
Applying a coat of primer is essential, especially if you’re making a dramatic color change or painting bare wood. This step will improve paint adhesion and provide a uniform base for your topcoat.